Ores Plus Addon is an expansion for the mines, with new minerals,...

Ores Plus Addon is an expansion for the mines, with new minerals,...
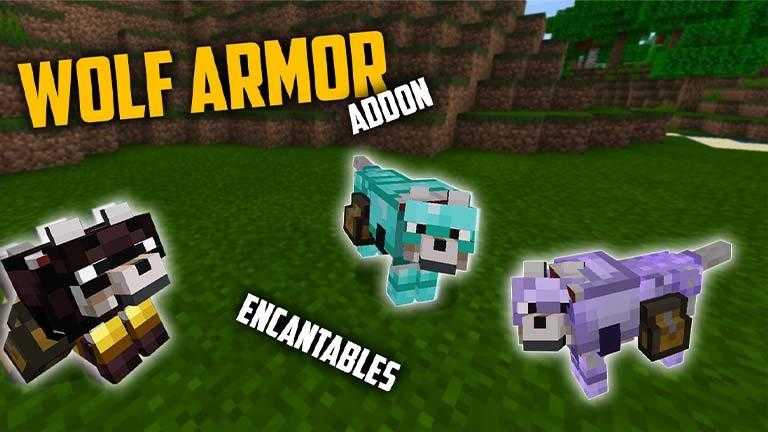
Wolf Armor Addon Te has quejado de la delicada naturaleza de los...

Criaturas mutantes (1.16+) El NUEVO Complemento Mutant Creatures...

Carry Animals A veces, los animales son difíciles de atraer con...

DecoBecraft DecoBecraft, es un complemento que agrega más...

Indicador de vida Addon Este es un addon que nos agrega indicadores...

Teleport Addon How Does It Work? If you are lazy to walk from one...

MB's More Hats How does it work? Do you want collectible cosmetics...
Buffed Iron Golem How does it work? Like its title, this add-on...
Mo´ Sword Addon This addon adds a new minerals, new swords, and some...

Trains Add-on v2 This is version 2.0 of the original "Trains! Addon...

Better Furnances How does it works? Better furnances is an addon...